Overview
Anypoint Partner Manager (APM) is MuleSoft's comprehensive solution for managing B2B integrations with trading partners. While it's renowned for EDI message handling, APM also excels at processing structured data formats like CSV files. This guide walks you through setting up secure CSV file transfers to partners using APM's message flows, data mapping, and transport protocols.
Prerequisites
Before starting, ensure you have:
- An active MuleSoft Anypoint Platform subscription with Partner Manager enabled
- Partner contact information and agreement details
- CSV file specifications (schema, delimiters, encoding)
- Transport protocol details (AS2, SFTP, FTP, etc.)
- Access to configure partner profiles and message flows
Step 1: Set Up Partner Profile
Partner profiles in APM define your trading relationships and contain all necessary configuration details.
- Log into Anypoint Platform and navigate to Partner Manager
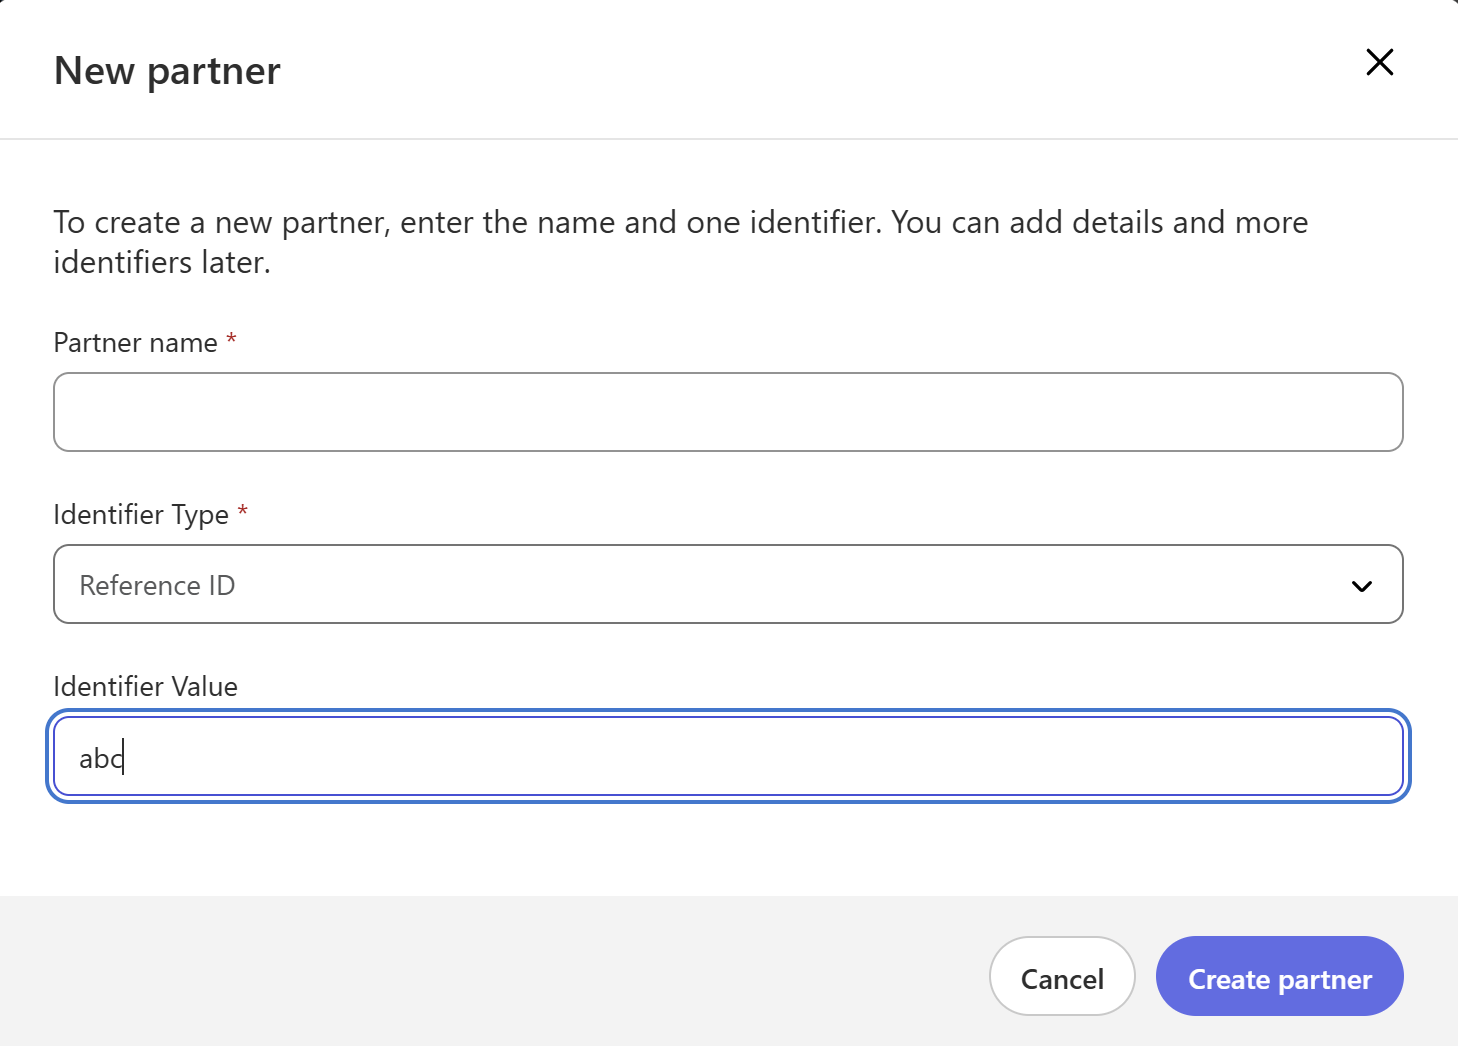
- Click "Partners" and select "Create Partner"
- Enter partner details: Identifier Type, Identifier Value
- Select Identifier Type as Reference Type and value as your partner's identifier
Step 2: Configure Endpoints for sending CSV file to partner
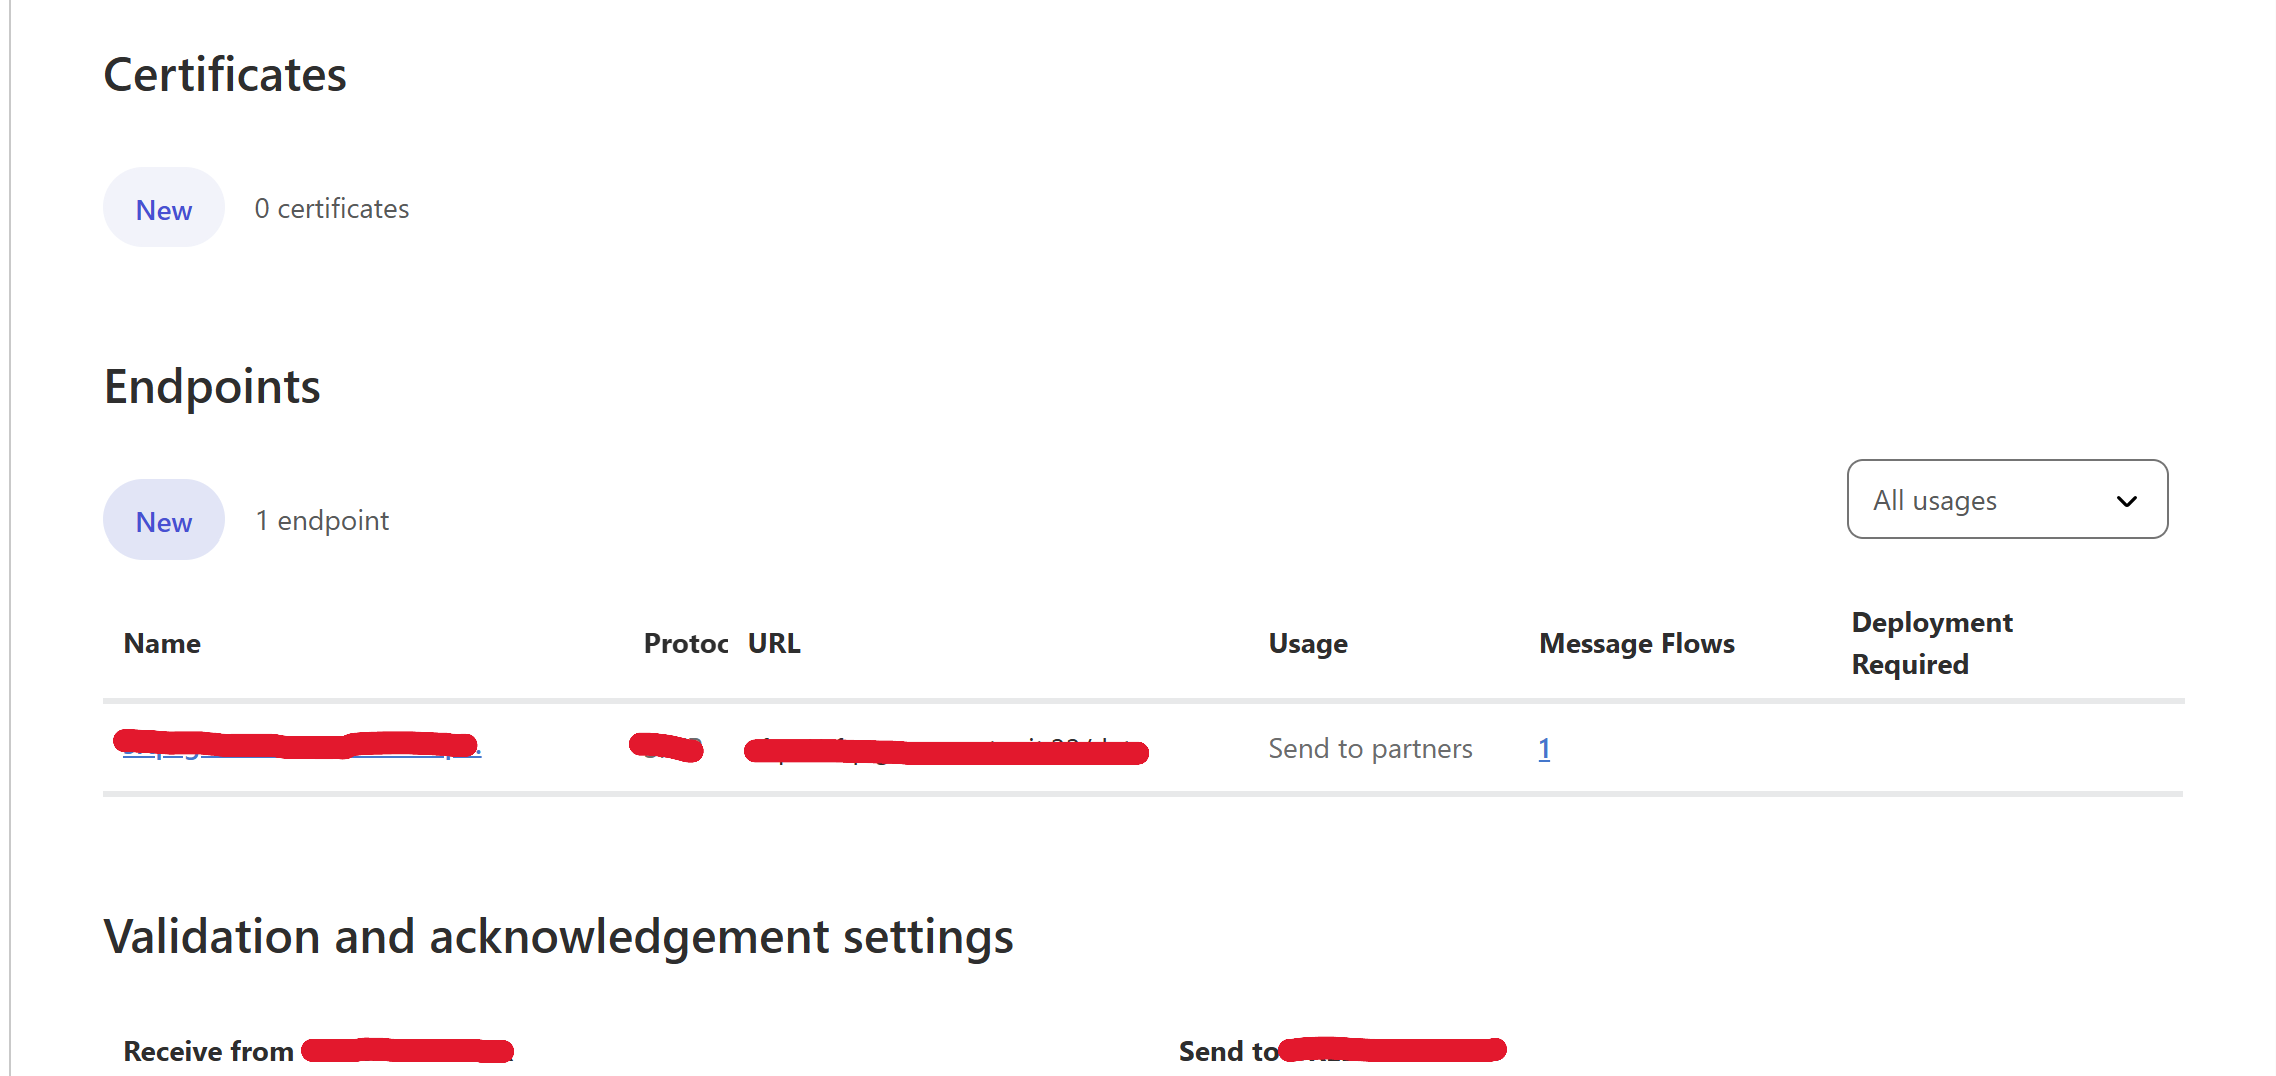
Endpoints in APM define the communication points for sending and receiving messages.
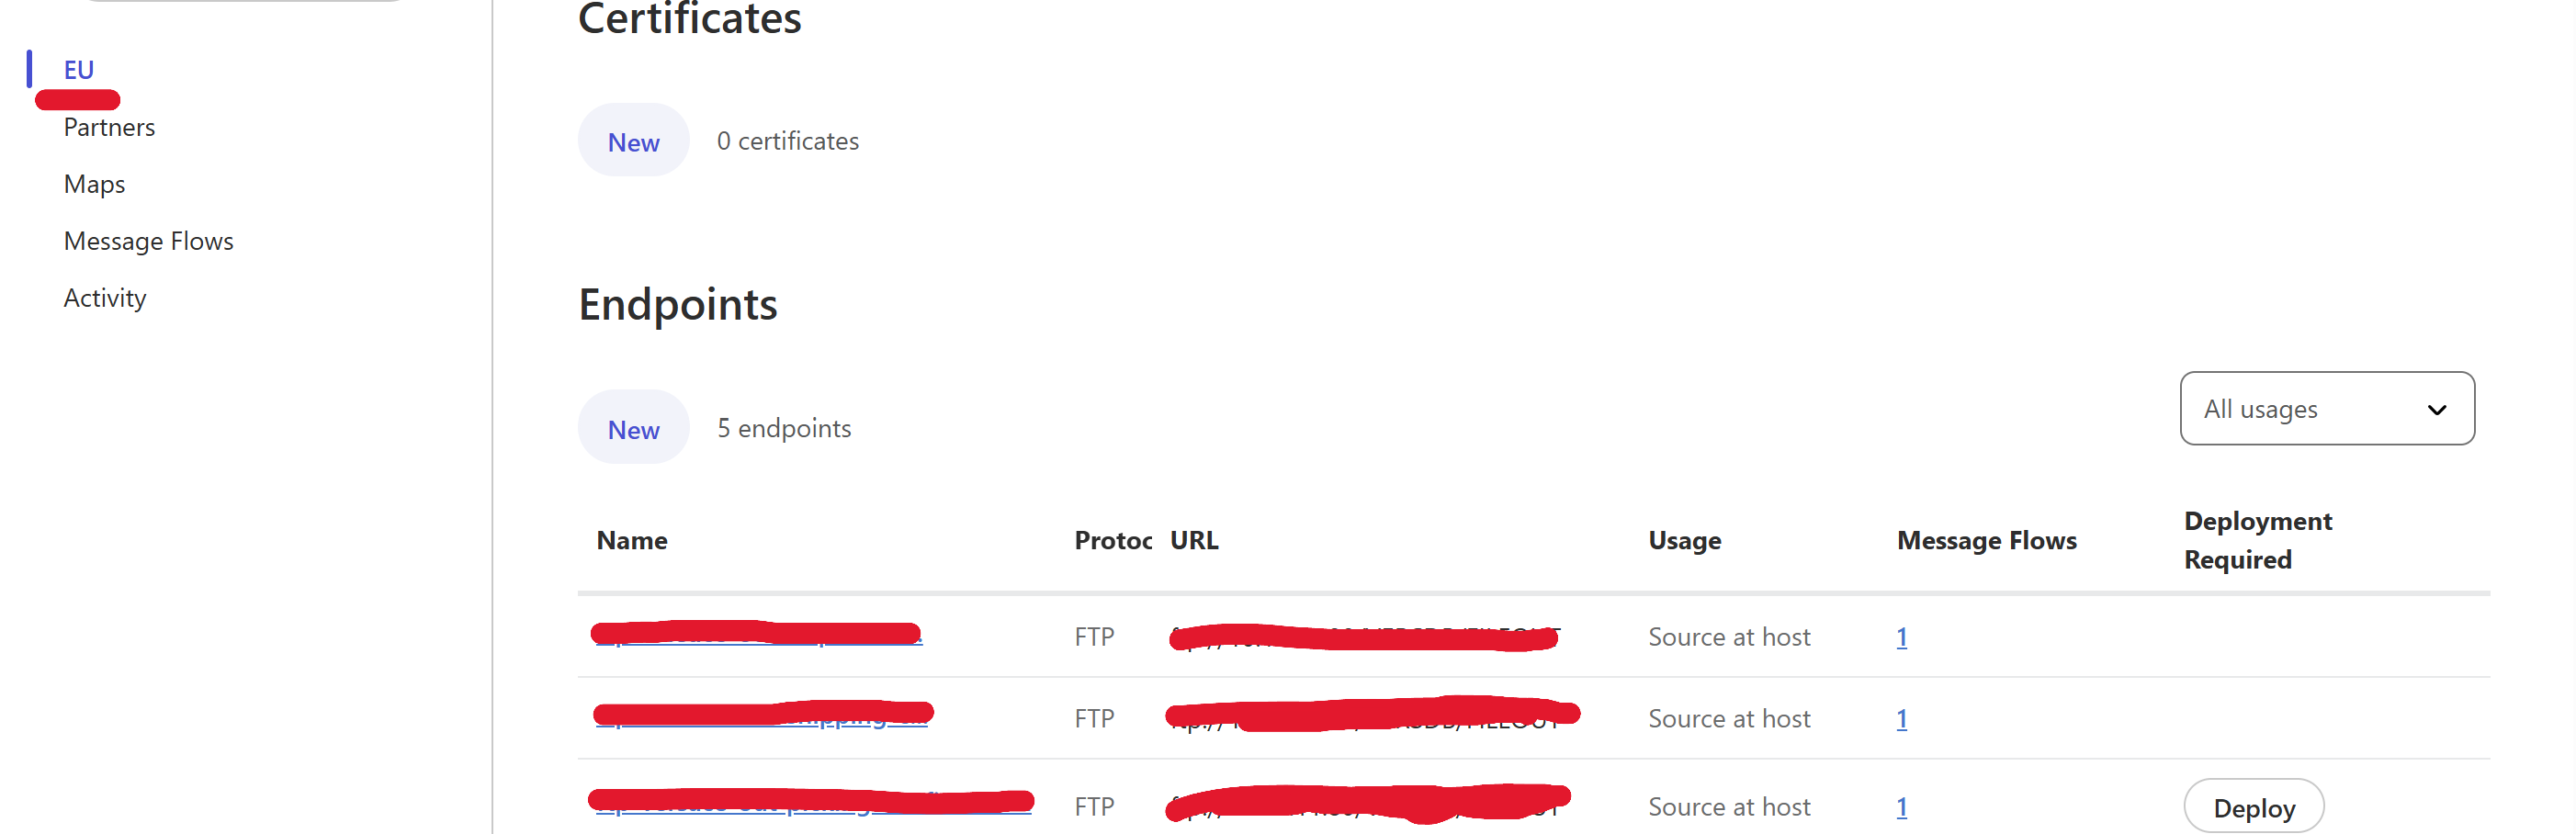
- Select Partners in left side tab
- Select the Partner Created
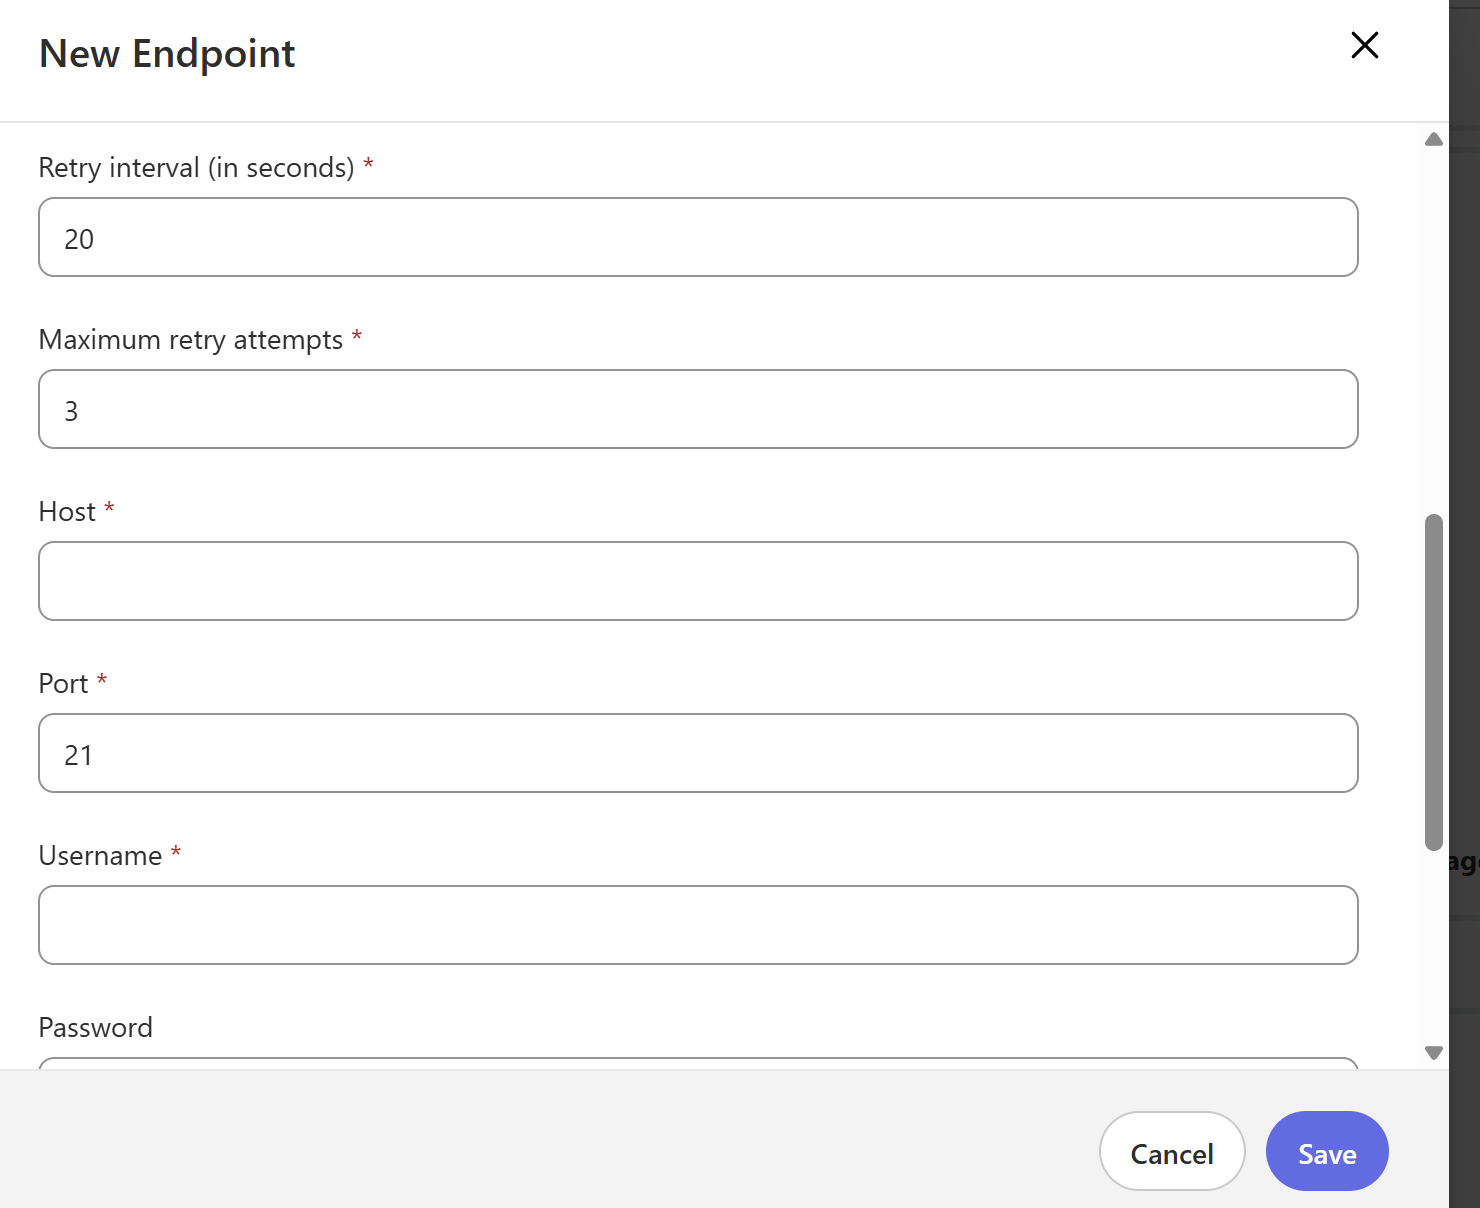
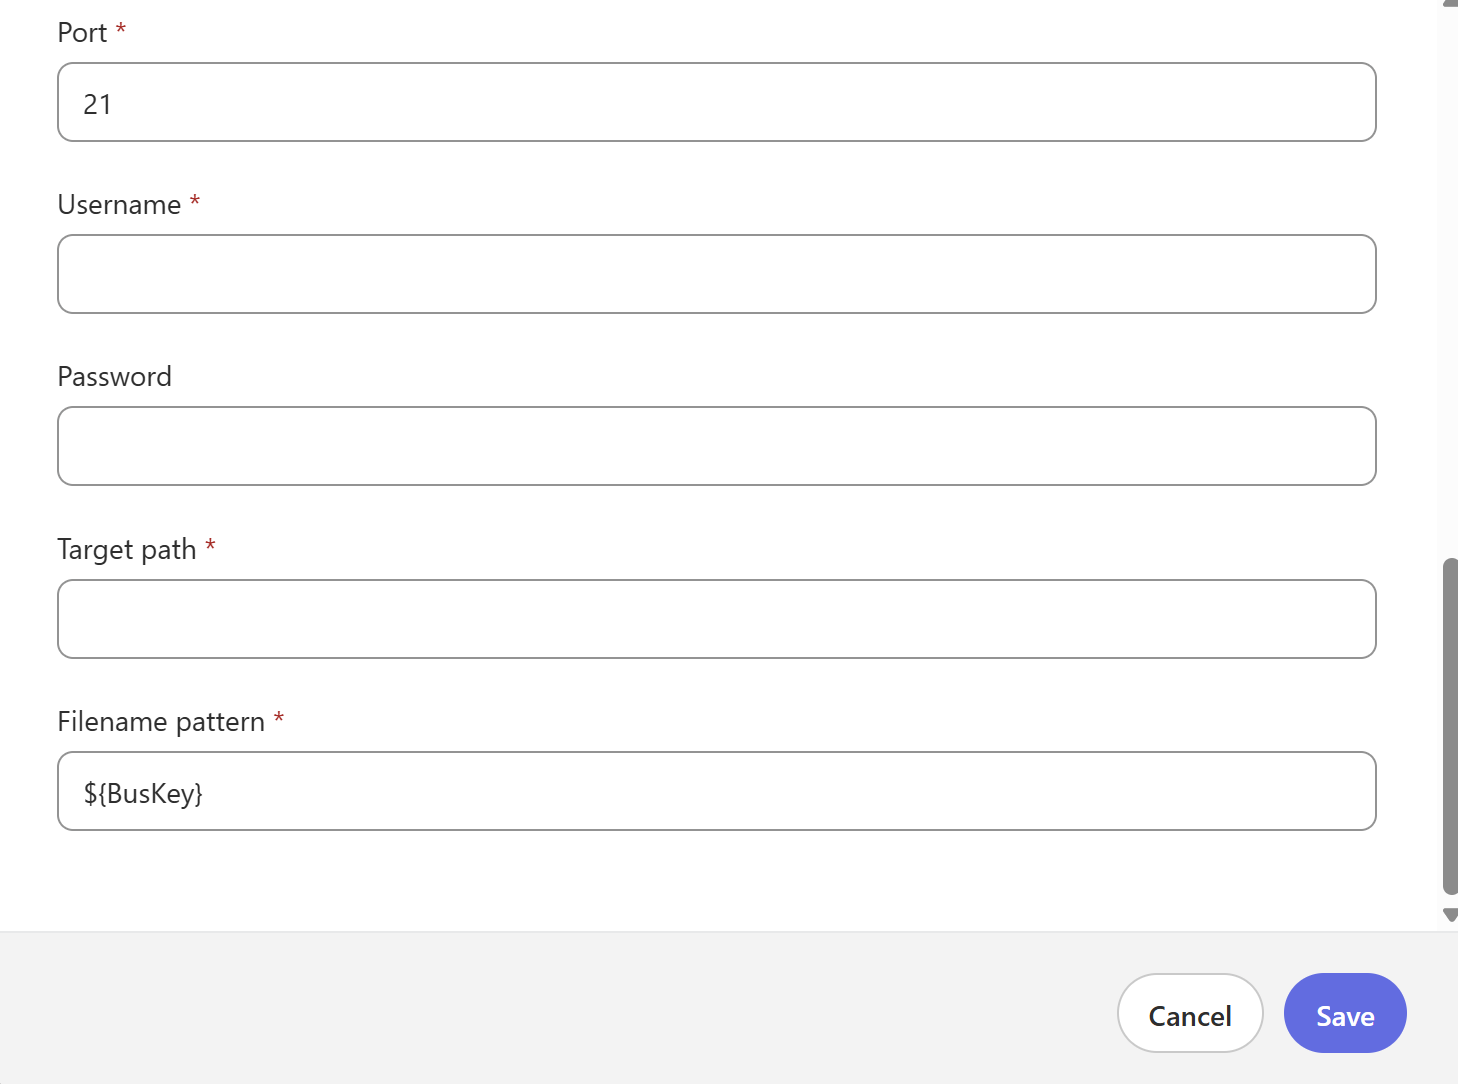
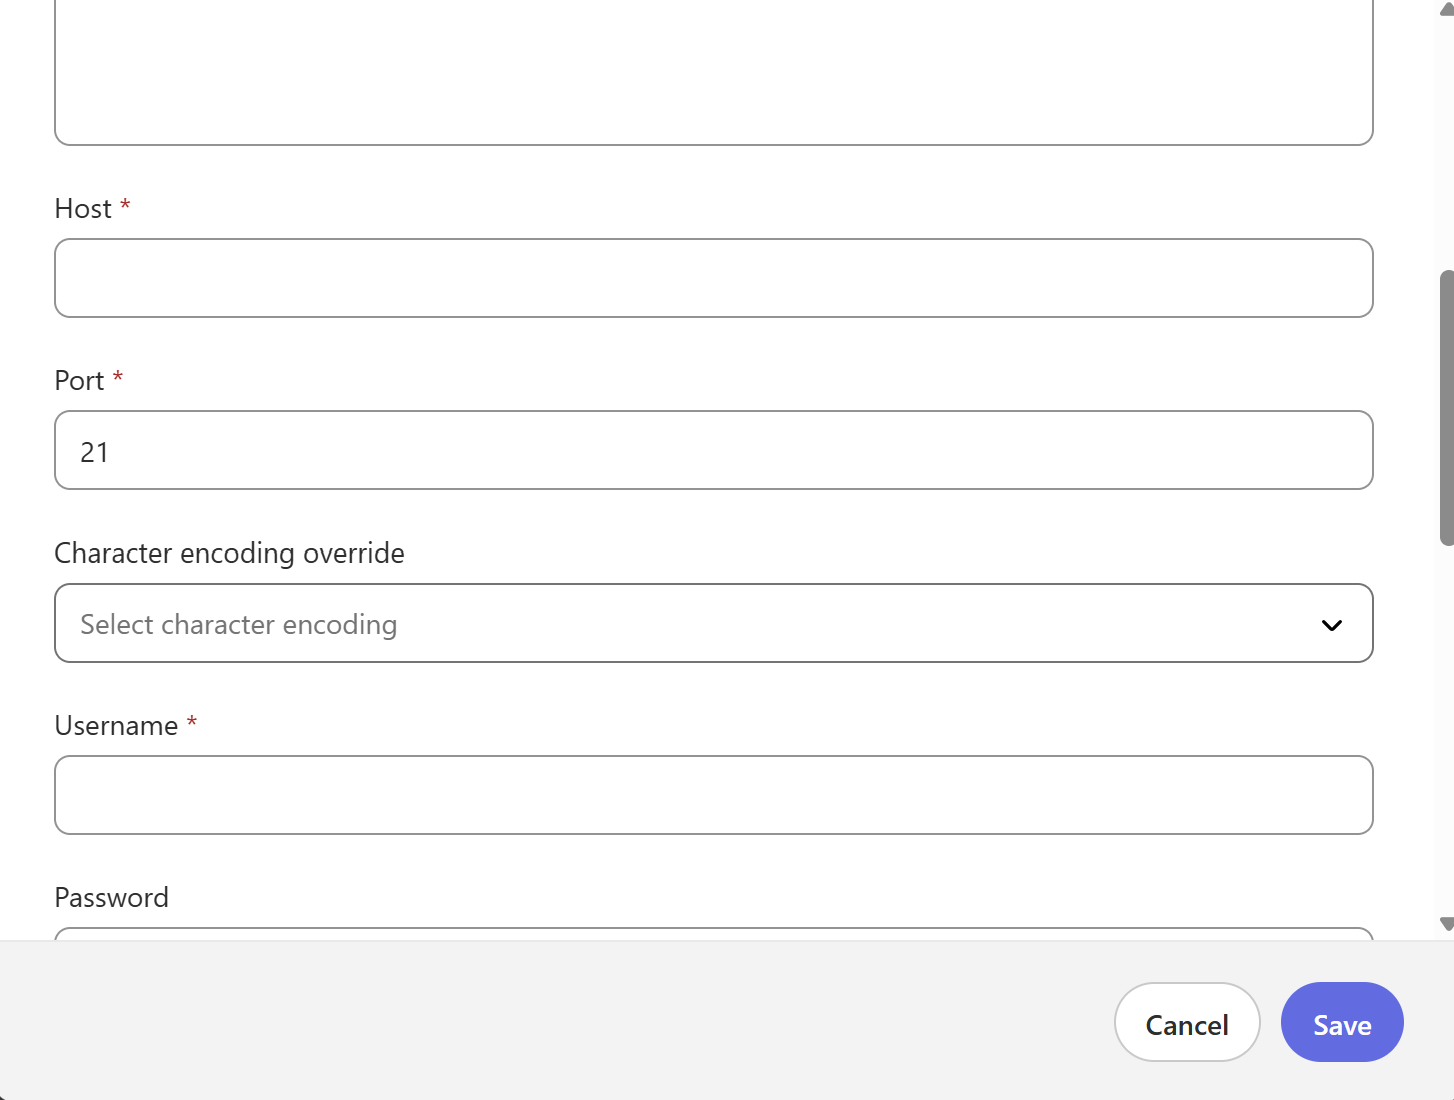
- Go to Endpoints and click on New Endpoint
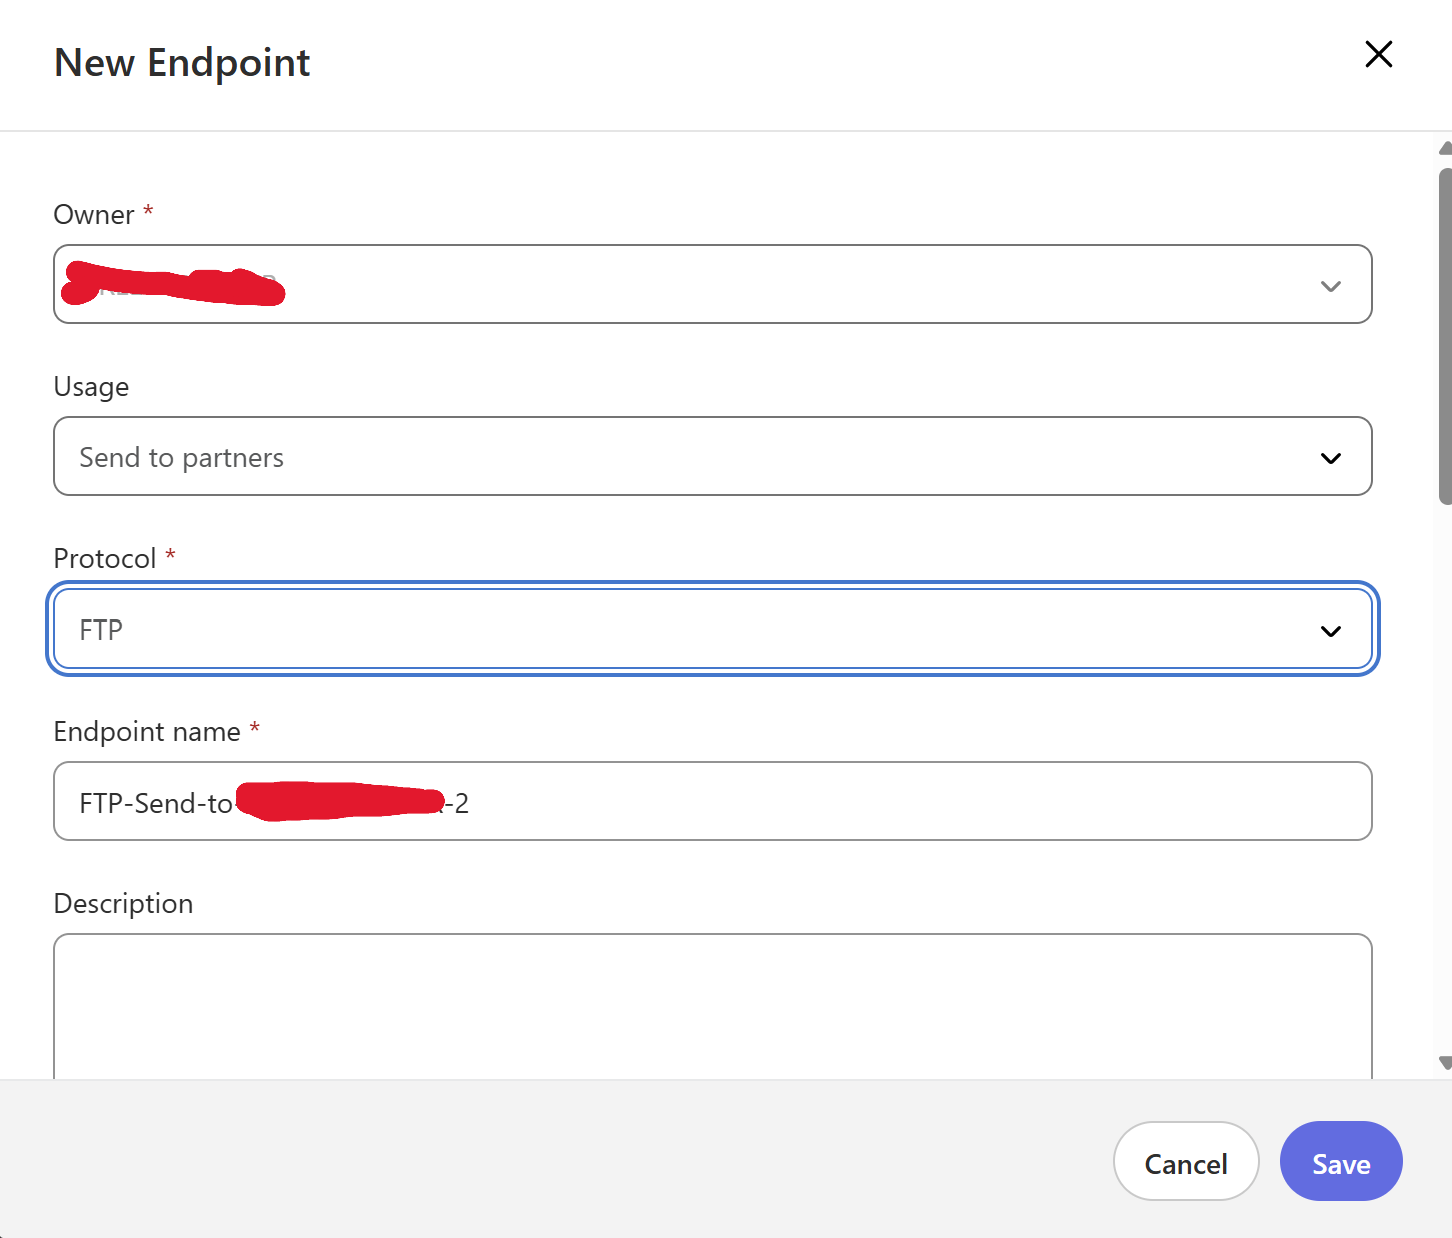
- Define the partner endpoint(your target FTP Server where you will send the files)
- Configure partner endpoint details:
- Owner: Should be a partner
- Usage: Select Send to Partner
- Protocol: Select FTP
- Filename Pattern: Give
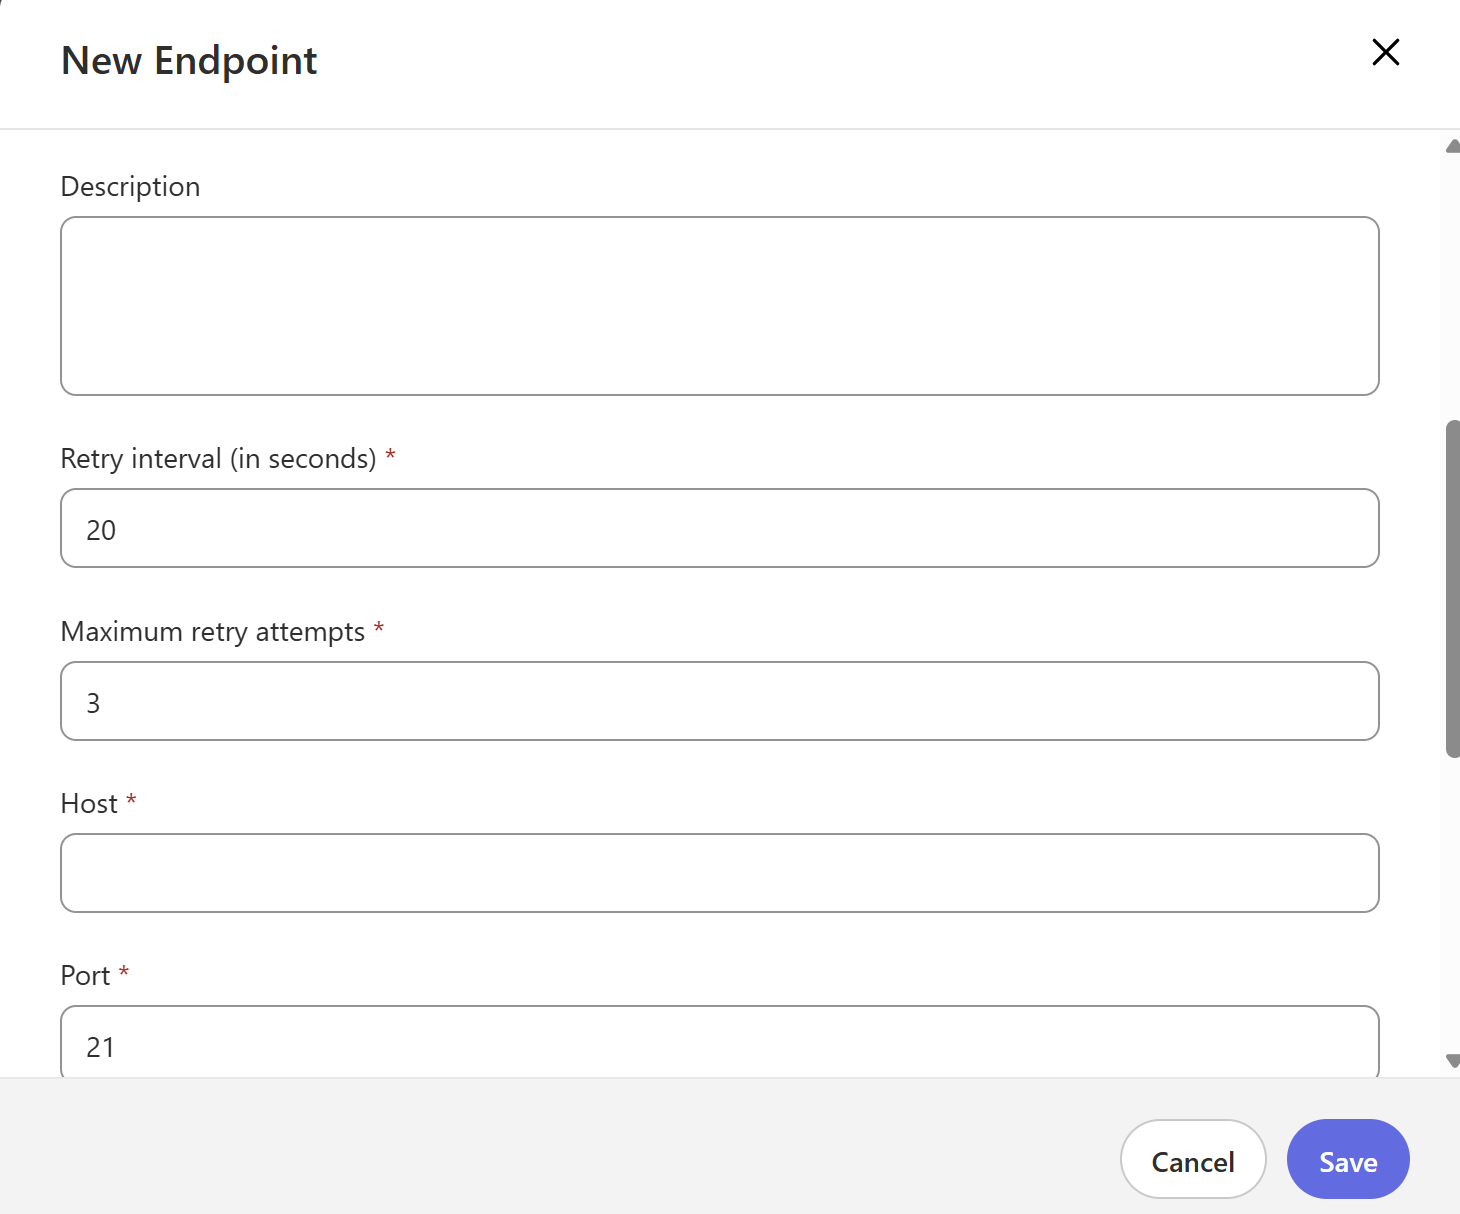
${Bus} - Configure other settings as per your environment (credentials, FTP host, port, etc.)
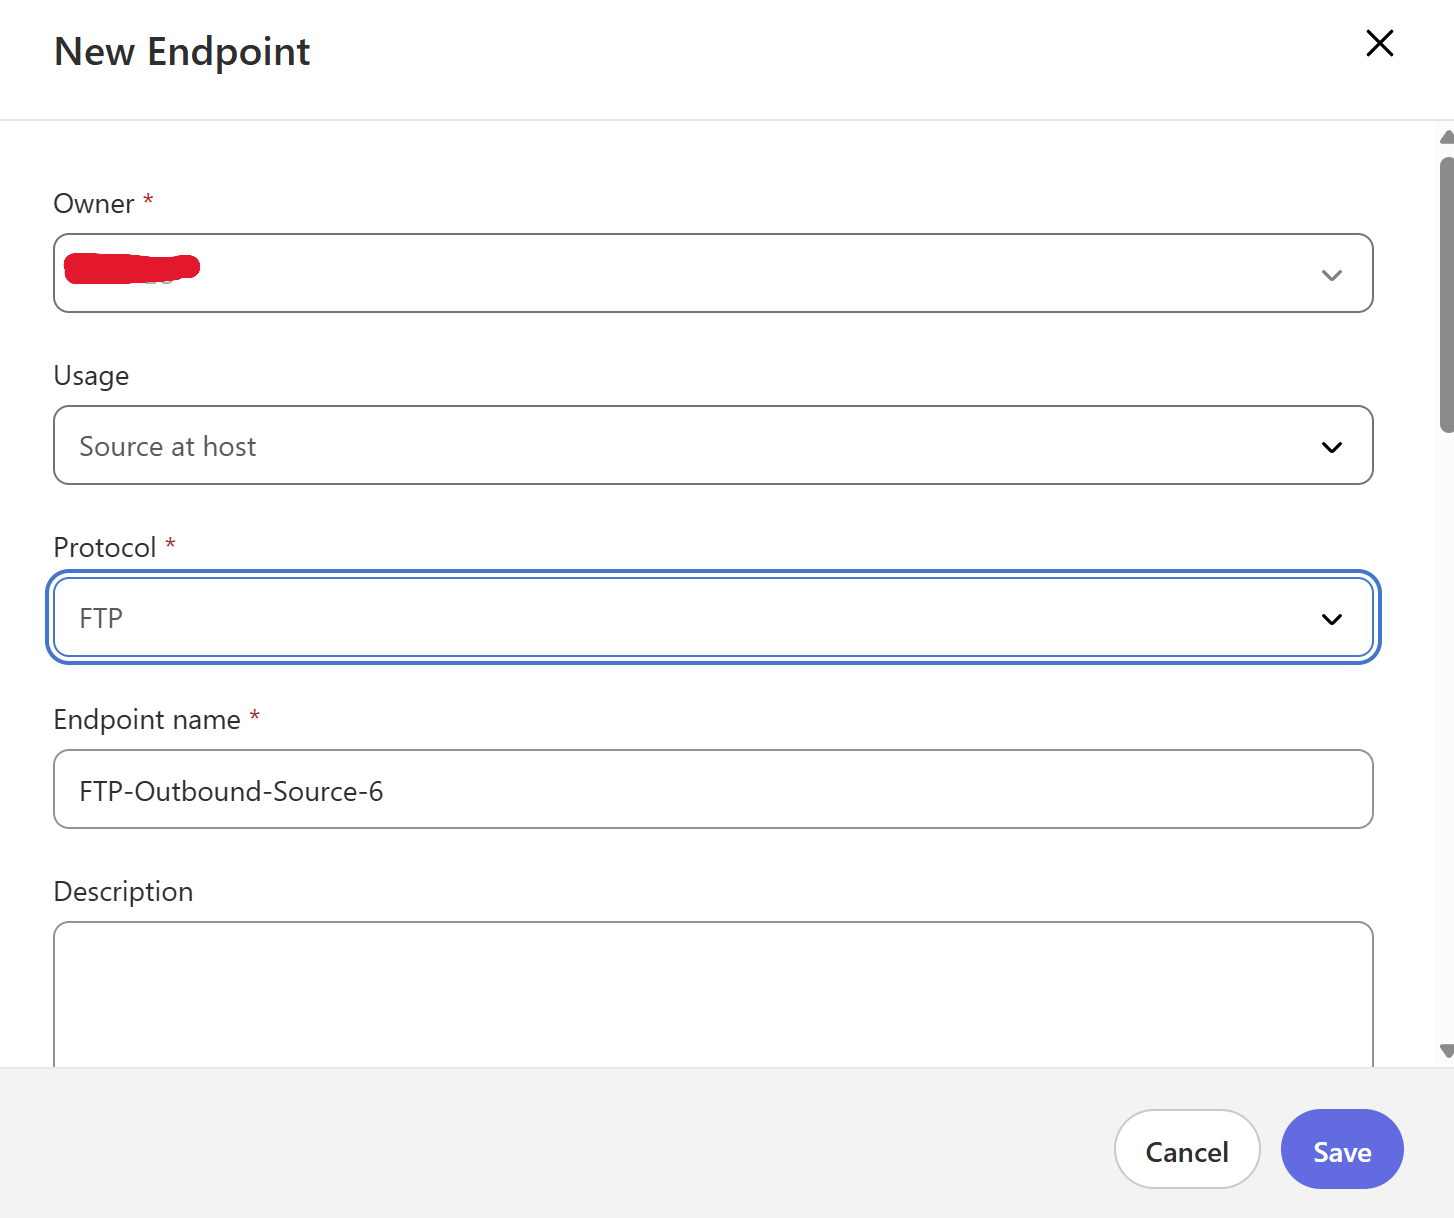
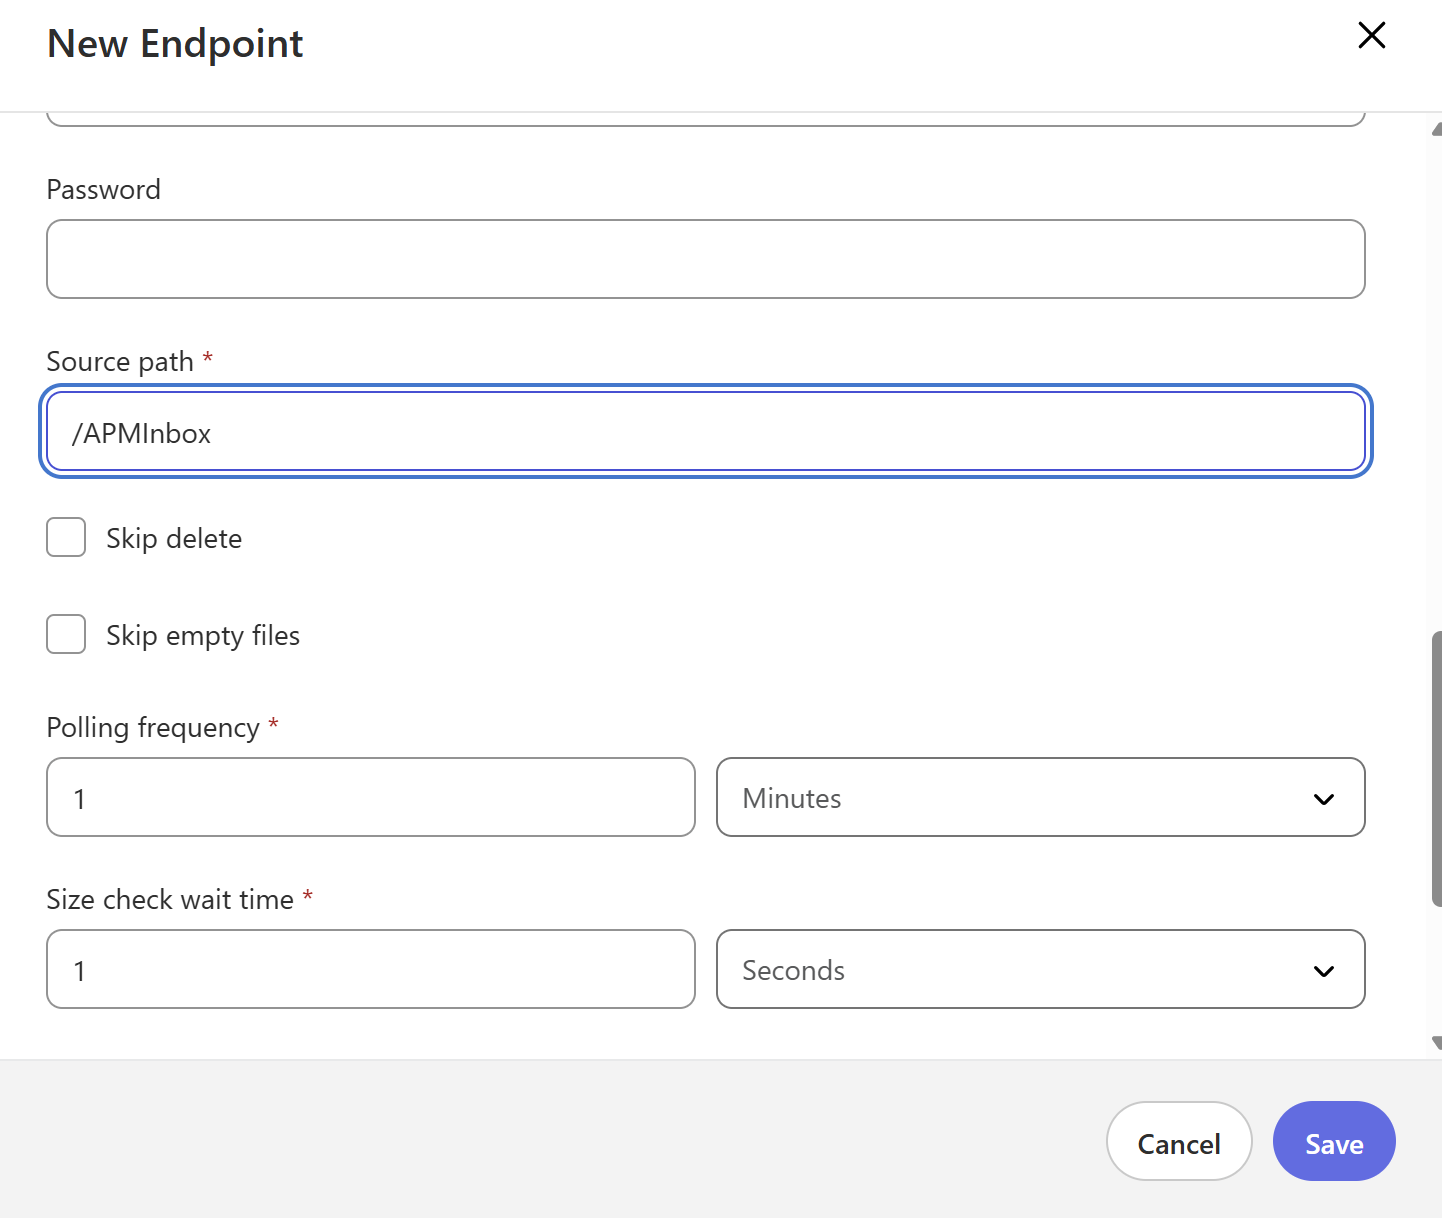
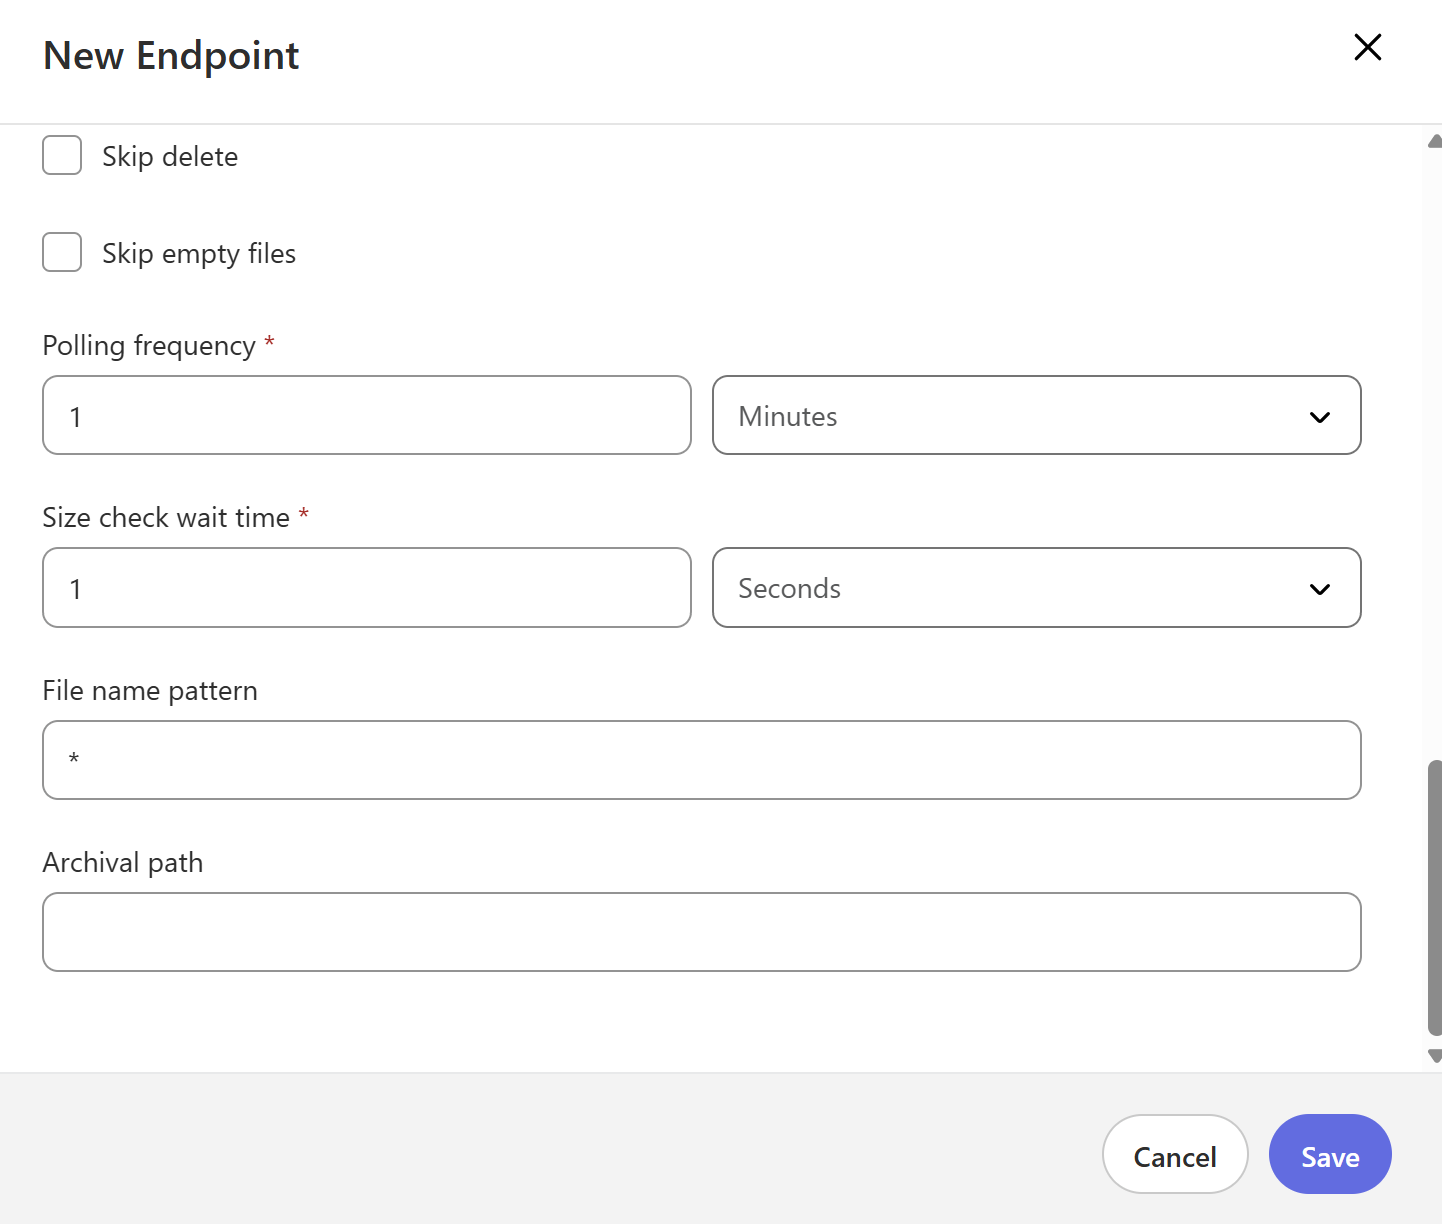
Step 3: Create your host endpoint
Host Endpoint is a source from where you will send your files to partners.
- Select Host in left side tab
- Go to Endpoints and click on New Endpoint
- Owner: Should be a host
- Usage: Select Source at Host
- Protocol: Select FTP
- Configure other settings as per your environment (credentials, FTP host, port, etc.)
- Give Source directory path, file name pattern and archival path
Step 4: Create Source and Target Message Types
Source and Target Message Types are used to define the structure and format of the data being exchanged.
- Click on Host Profile on the left side tab
- Go to Message Types
- Click on New Message Type
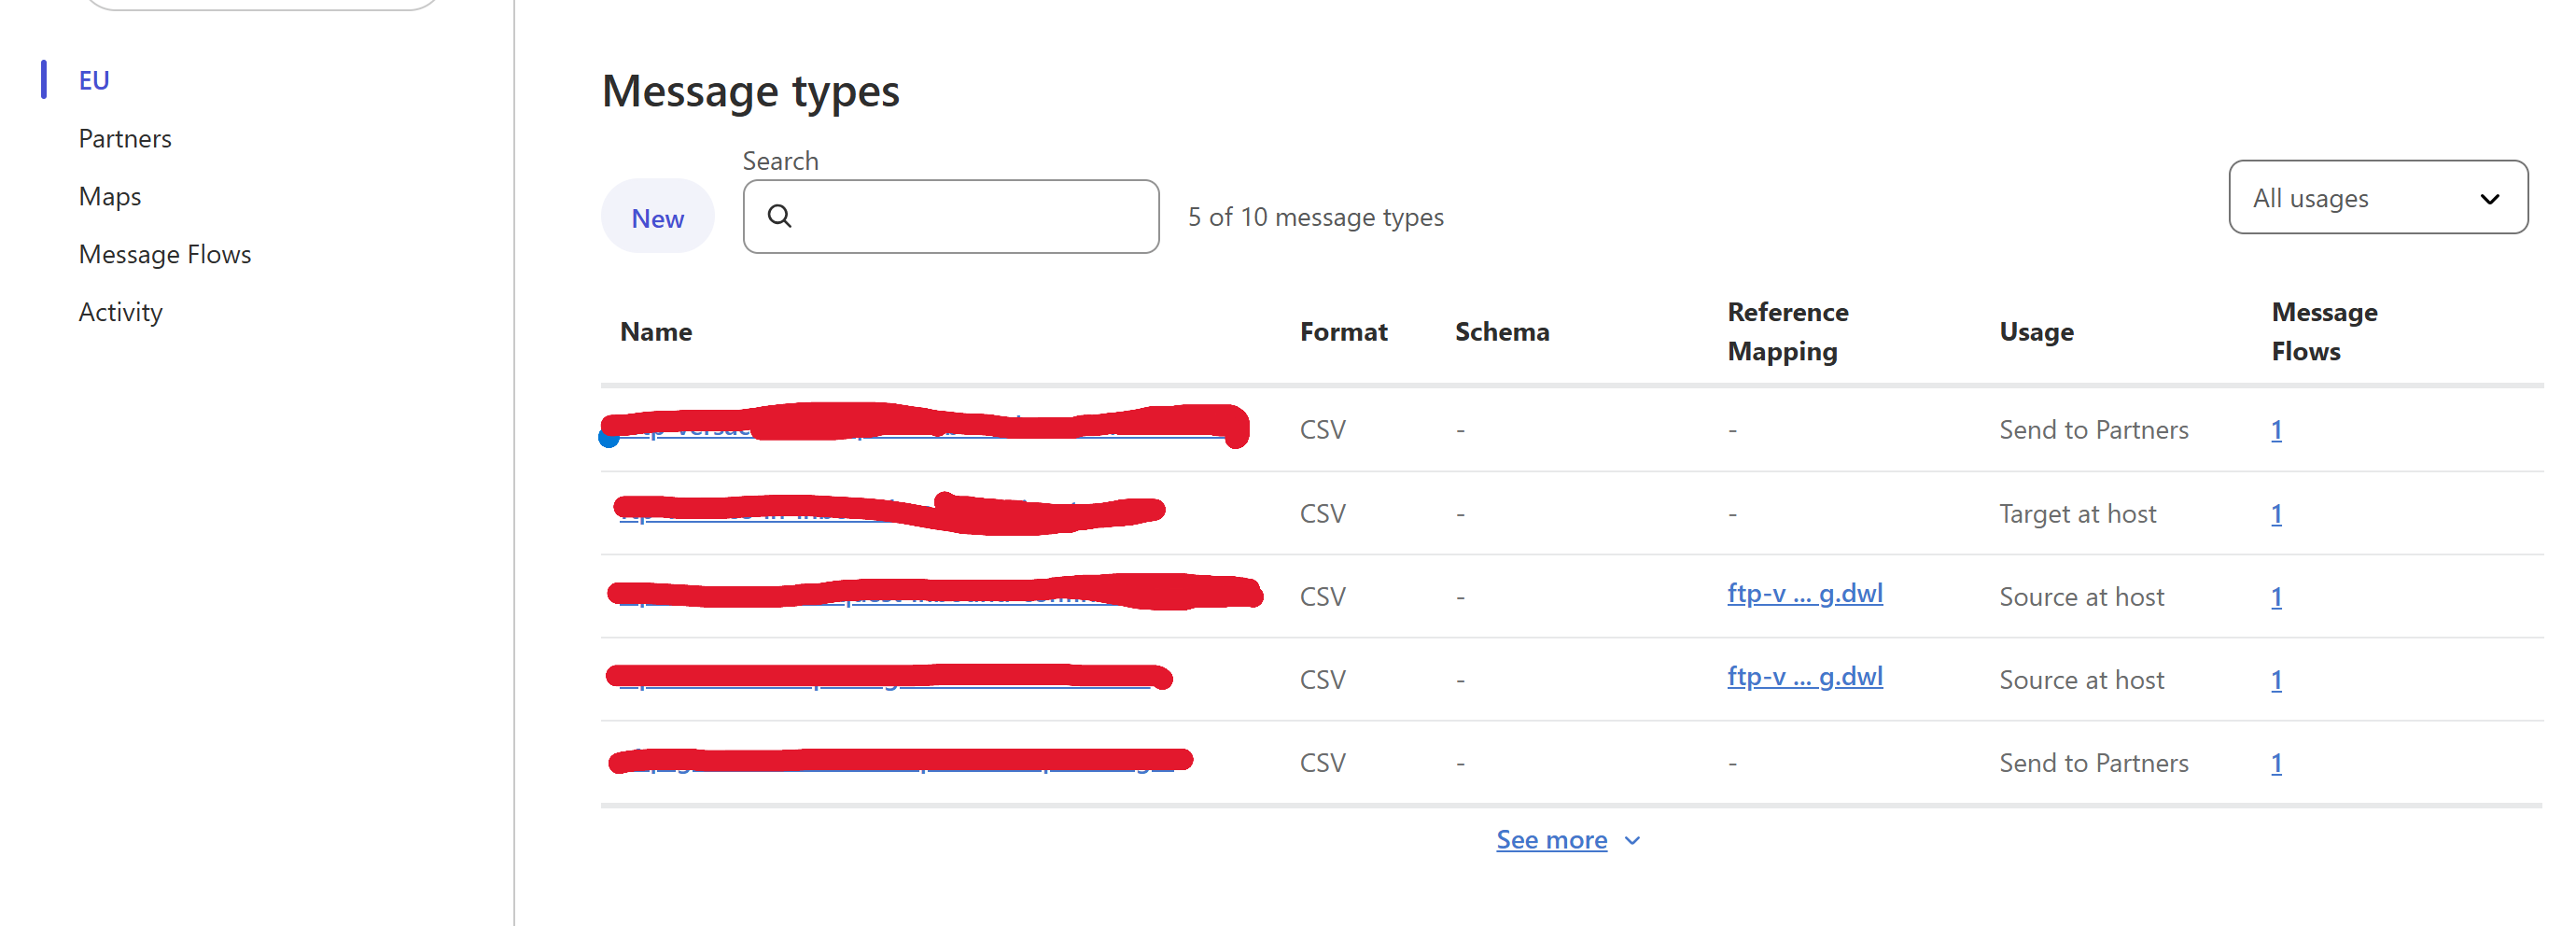
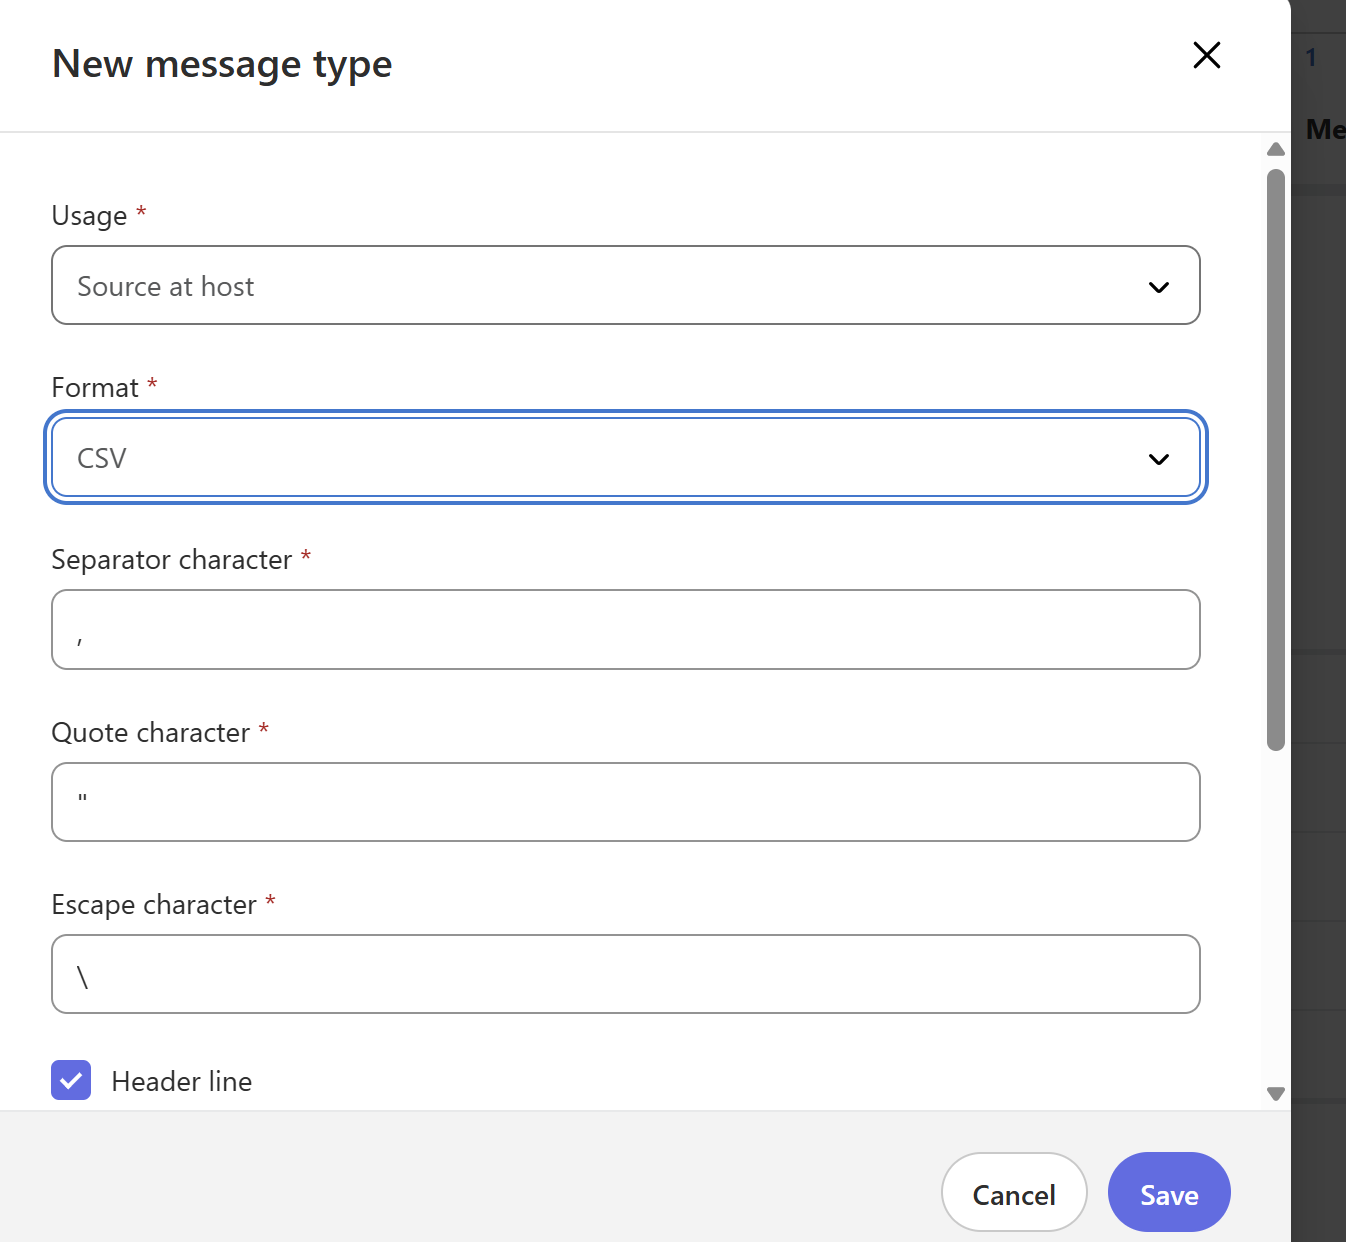
First let's create source at host message type
- Usage: Select source at Host
- Format: Select CSV
- Leave separator character, quote character and escape character as default
- Message Type Identifier: Give the name you want
- Reference type identifier and attributes mapping: Pass host reference type identifier and map the attributes accordingly as per below example(change the values as per your requirements)
%dw 2.0
output application/json
---
{
    "partnerReferenceId": "abc",
    "hostReferenceId": "xyz"
}
save the file as dwl and attach as per below screenshot

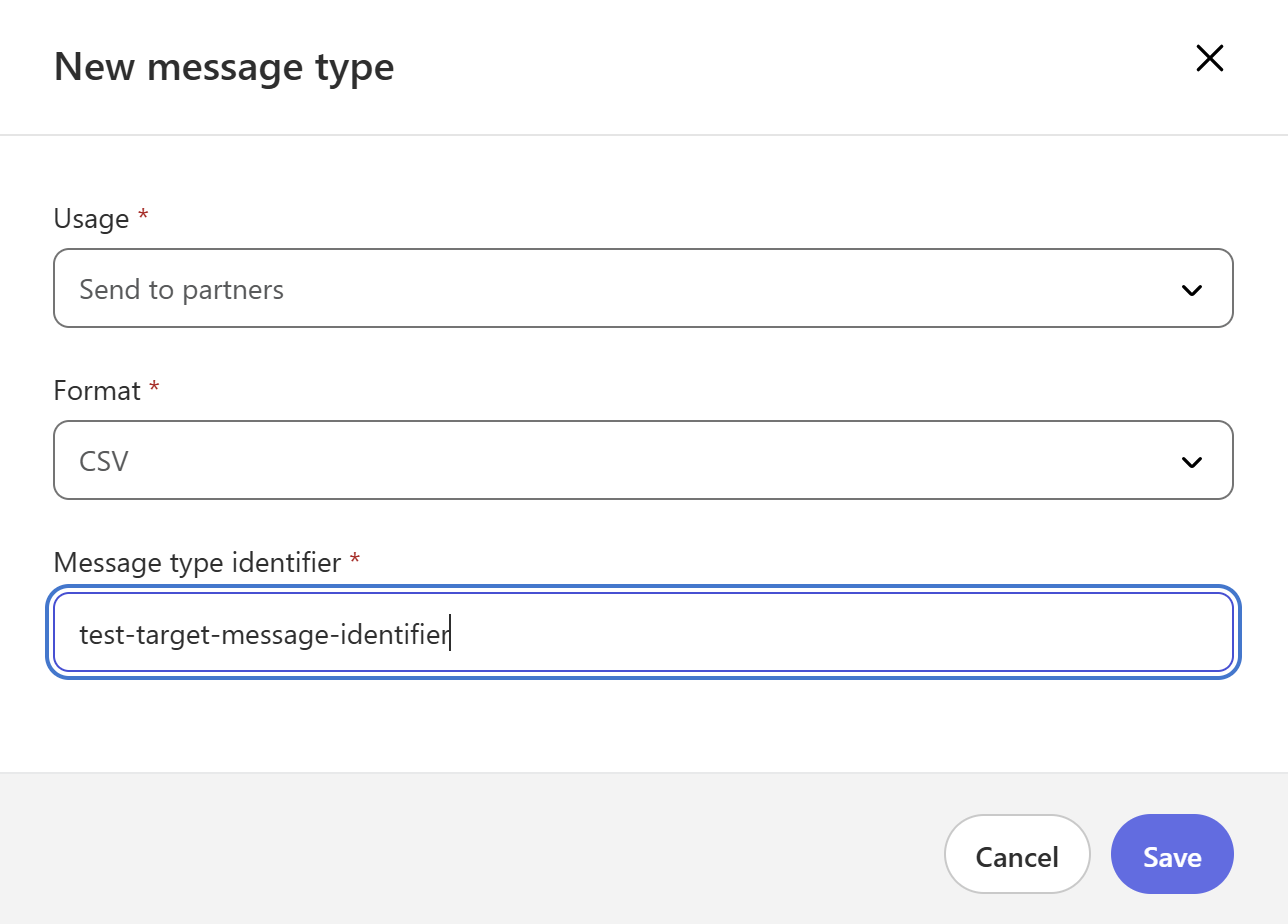
Now let's create target message type
- Usage: Select Send To Partners
- Format: Select CSV
- Message Type Identifier: Give the name as per your requirements
Step 5: Create Message Mappings
Message mappings define how data is transformed between the source and target message types.
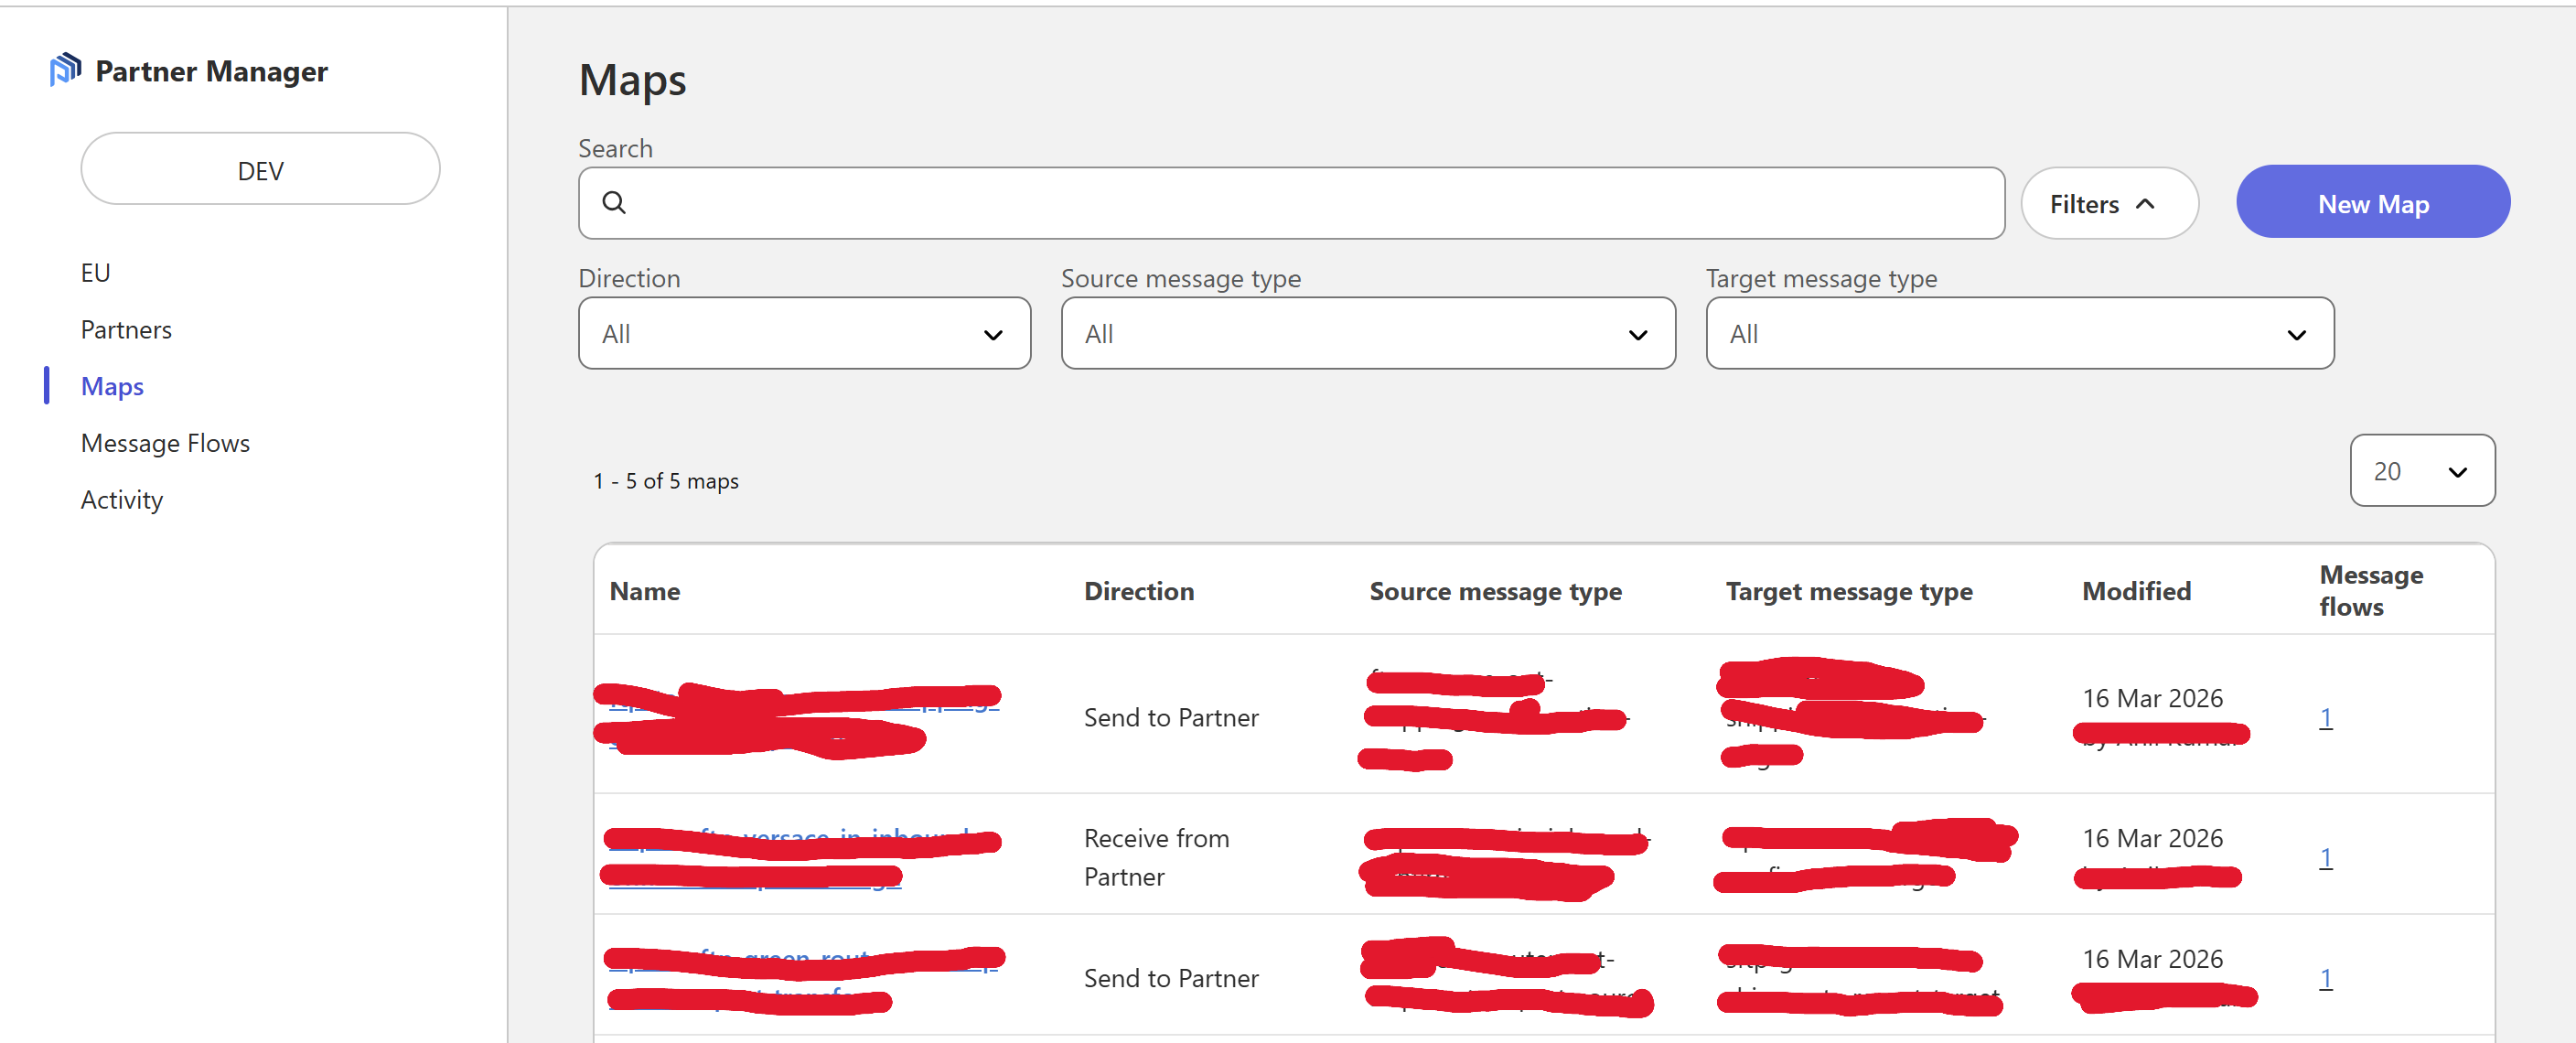
- On the left side of APM tab, select Maps
- Click on New Map
- Select Send to Partner from drop down list
- Provide the map name as per your requirenment
This is the place where you need to pass your dataweave script using which you want to transform incoming data.
- Give Source Message Type
- Provide dwl script, in my case I have passed as is (in case of no transformation needed)
%dw 2.0
output application/json
---
payload
- Select Target Message Type
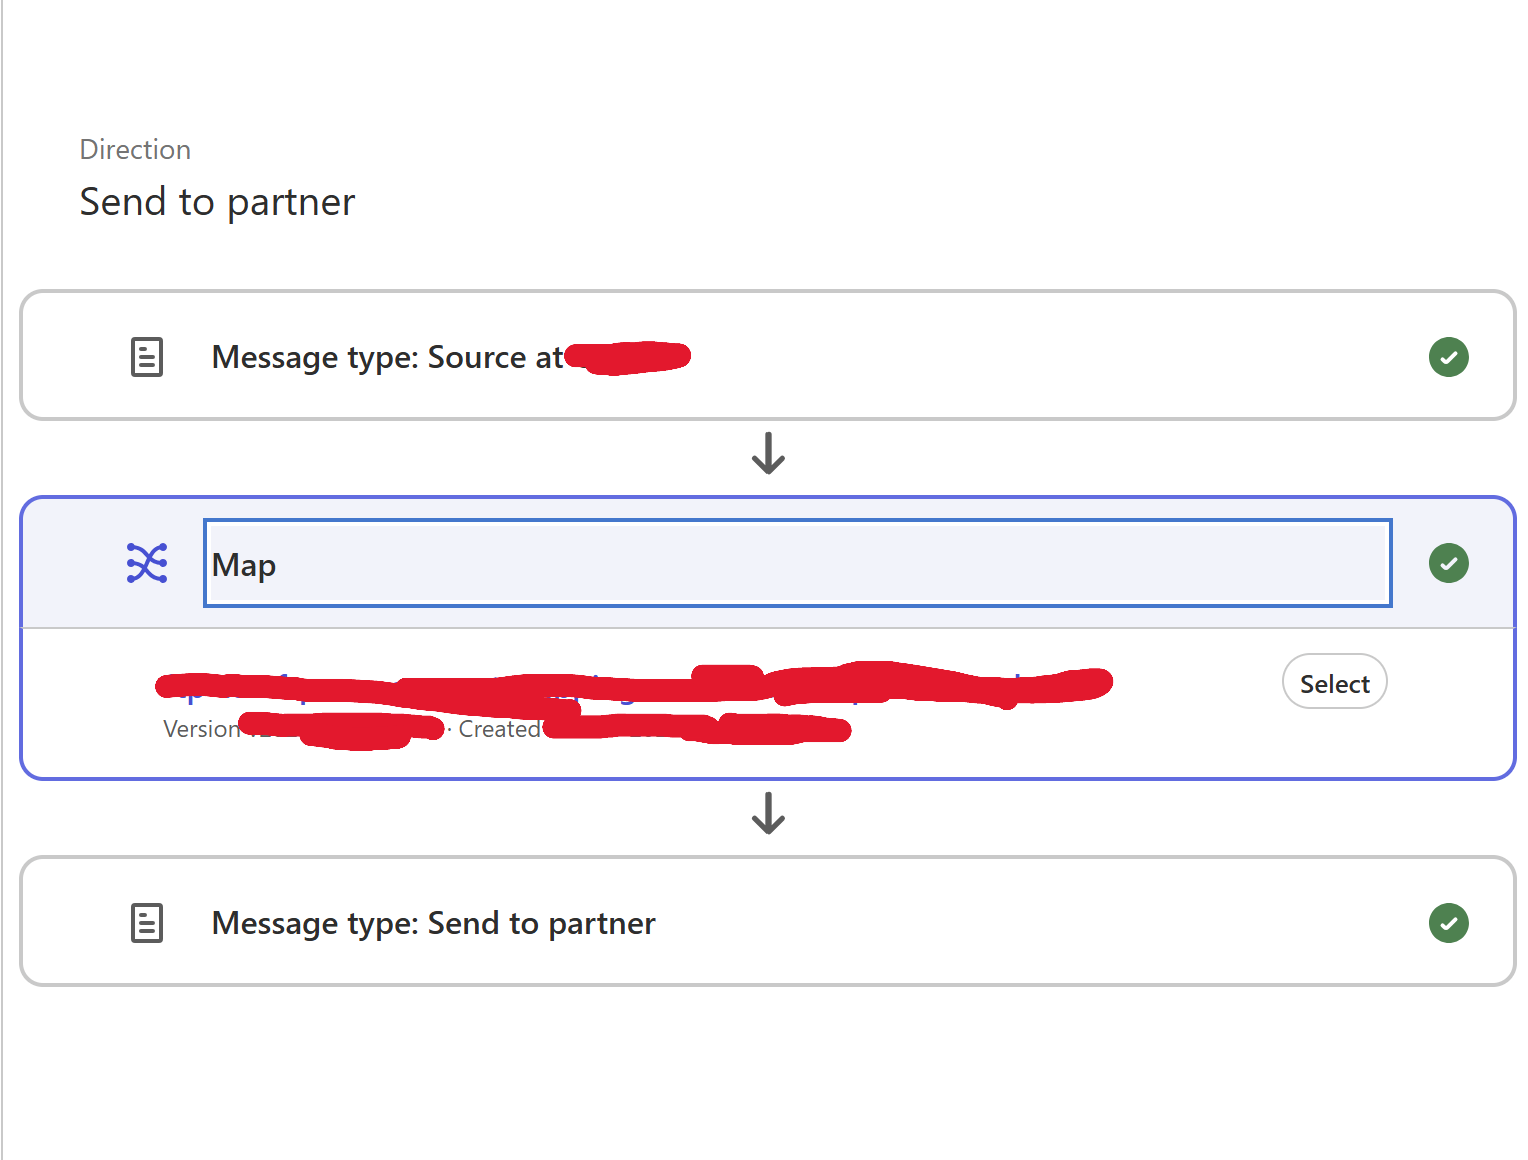
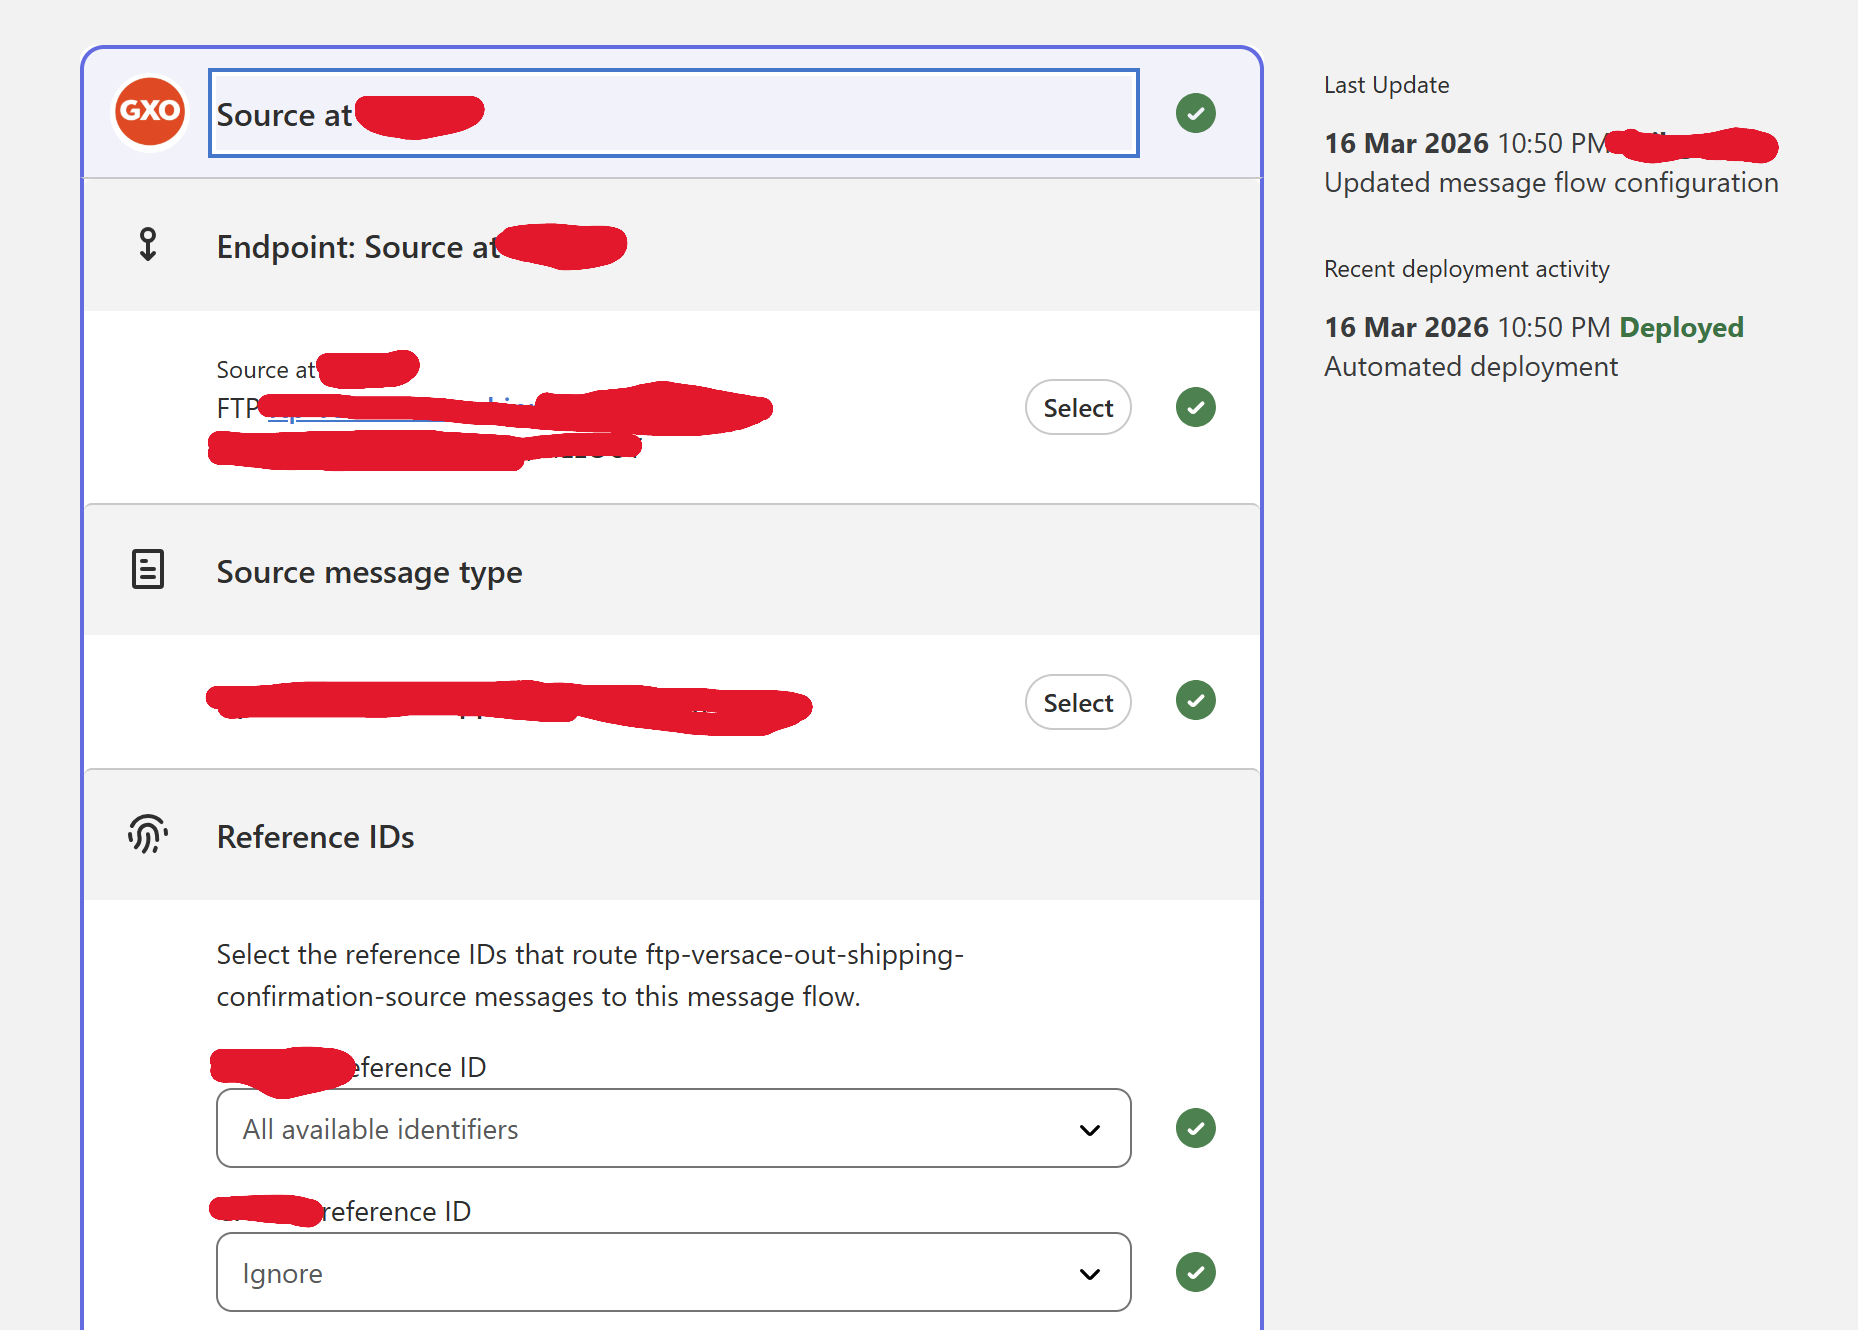
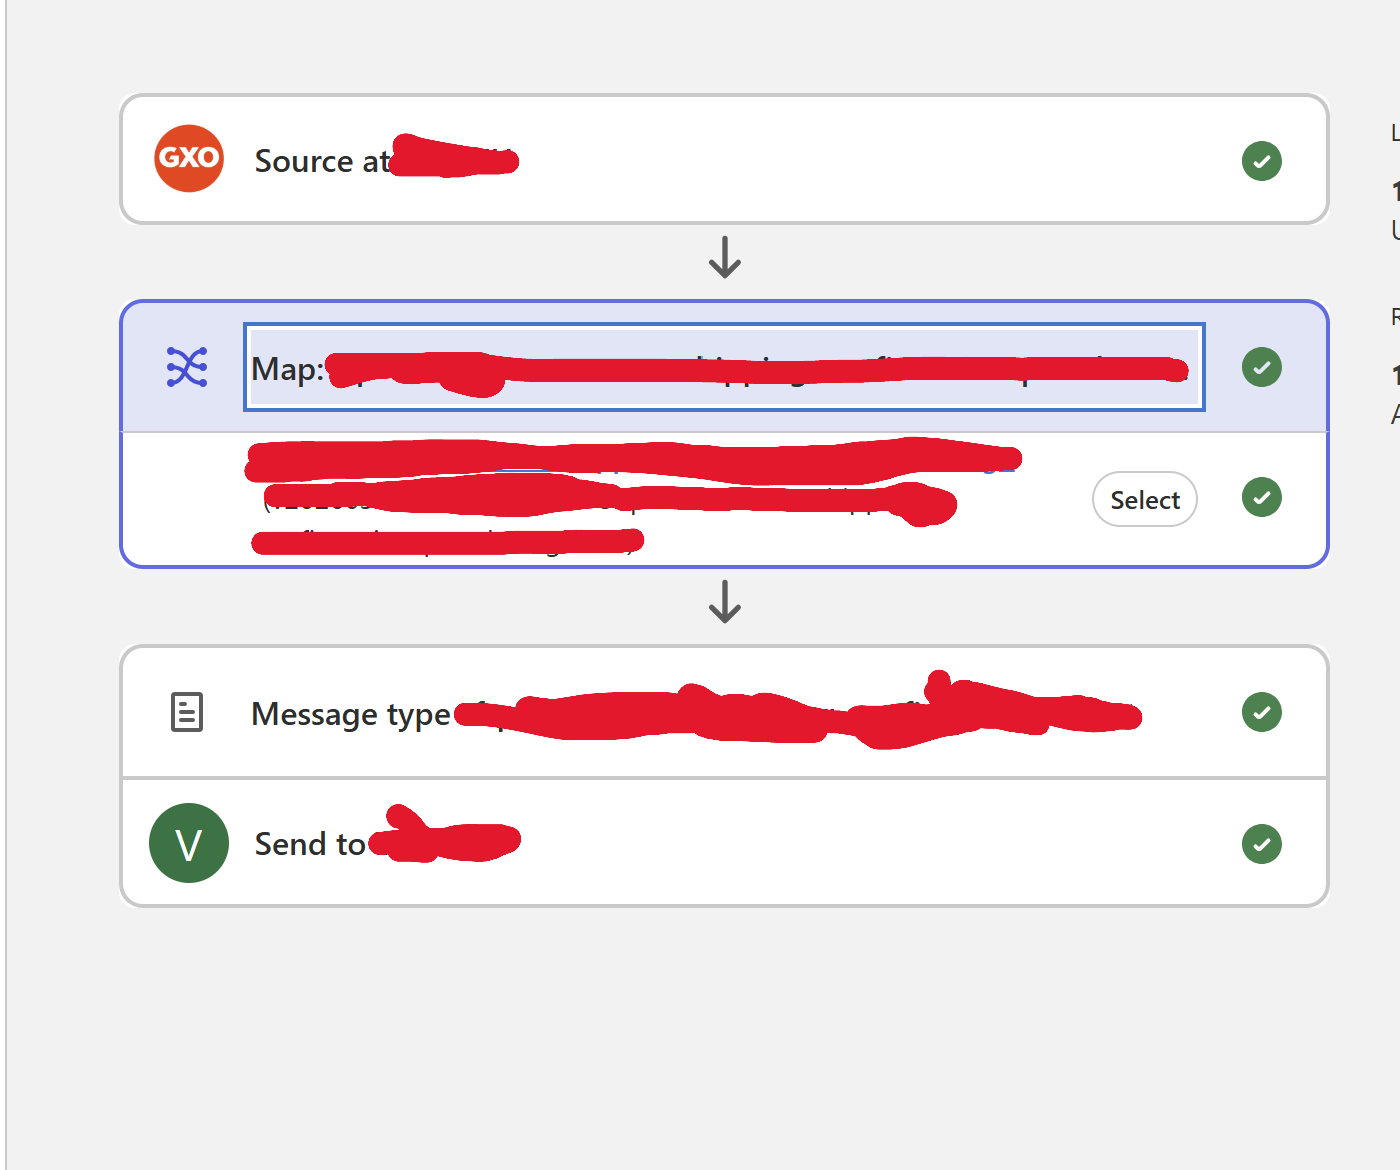
Step 6: Create Message Flow
Message mappings define how data is transformed between the source and target message types.
- On the left side of APM tab, select Message Flows
- Click on New Message Flow
- Select Send to Partner from drop down list
- Select your Partner
- Select a Map which you have created
- Select your Source Endpoint
- Select your Source Message Type
- Select your Source and Target Reference IDs
- Select your dwl mapping
- Select your target message type
- Select your target endpoint
Step 7: Testing
Deploy and Test your message flow.
- Once Message Flow is created, click on deploy button
- You will be able to see new application is being deployed in Runtime Manager
- Create the file at source FTP location and it will be transferred to the target location by Anypoint Partner Manager
Best Practices
- Regularly update partner profiles and certificates
- Test changes in non-production environments first
- Document message flows and data mappings for maintenance
- Create DEVOPS pipelines for automated testing and deployment, avoid manual changes
Conclusion
Anypoint Partner Manager simplifies CSV file transfers to partners by providing a unified platform for configuration, mapping, and secure transport. By following this guide, you can establish reliable B2B data exchanges that scale with your business needs. For complex integrations or custom requirements, consider consulting MuleSoft experts to optimize your partner communications.